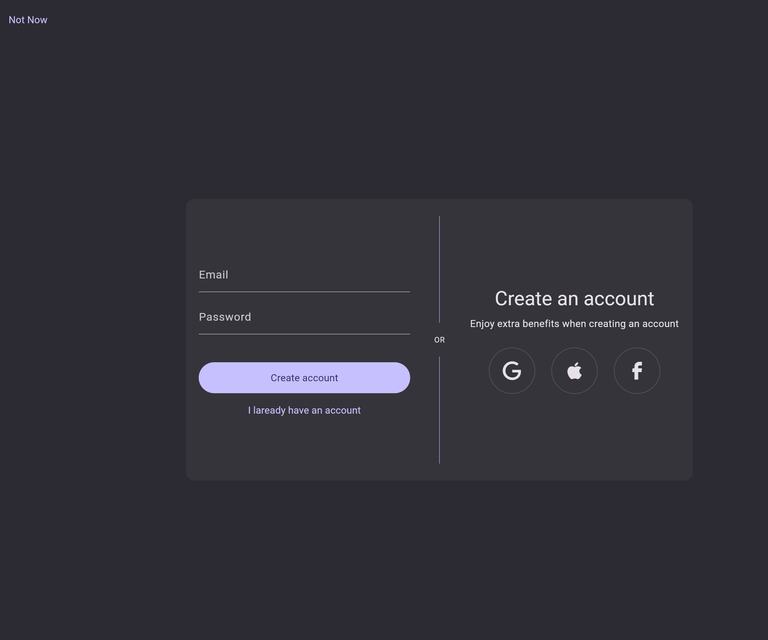
Add social sign-in
ShipFlutter Auth module currently supports the following social sign-in providers:
Each of them requires specific steps. You can easily enable/disable them by modifying the AuthController and enable them in a later stage. You can also add new ones yourself by implementing them in the controller.
final authController = Ref.scoped( (context) => AuthController( enabledSocials: [ AuthEvent.google, AuthEvent.apple, // ... ] ),);Make sure you have setup the auth module in the previous step to continue.
Follow these steps to enable Google sign-in for Android, iOS and Web:
-
Create a SHA1 key for your Android app
-
Add to it to the Android app in the Project Settings (Add fingerprint)
-
Enable Google Sign-in in the Firebase Project dashboard.
-
Provide a name and a support email.
-
(Optional) Provide an existing Web SDK configuration, otherwise it will be generated for you.
-
Go back to your project and refresh the config:
Terminal window flutterfire config -
(Only for iOS) Configure URL Schemes
- Open Project Configuration: Click on your project name in the left tree view.
- Select App Target: Choose your app from the “TARGETS” section.
- Go to Info Tab: Select the “Info” tab.
- Expand URL Types: Expand the “URL Types” section.
- Add URL Scheme: Click the ”+” button and add a new URL scheme.
- Use Reversed Client ID: Find the REVERSED_CLIENT_ID key in your GoogleService-Info.plist file and paste its value into the “URL Schemes” box.
-
Try to run the app and sign-in with Google. It should work for Android, iOS and web.
Apple
We will provide better documentation in the future. For now follow the official Firebase documentation:
- Configure Sign In with Apple
- Enable Apple as a sign-in provider.
- Add “Sign in with Apple” capability.
🚧 Work in progress. We will update it soon!
